
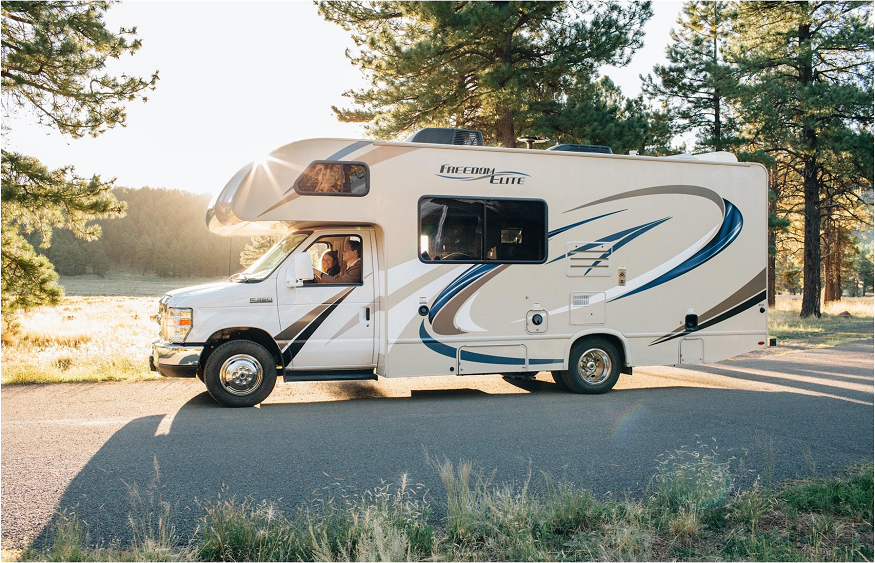
Your RV is not just a vehicle; it’s a home-on-wheels. And just like your brick-and-mortar home, it needs regular maintenance and care, especially when it comes to the roof. That’s where RV caulking comes into play.
Unraveling the Importance of RV Caulking
Roof maintenance is crucial for the longevity of your RV. The roof endures the most exposure to elements like sun, rain, and wind, which can cause wear and tear over time. Notably, a study by the RV Industry Association revealed that regular maintenance can extend the lifespan of an RV’s rubber roof up to 20 years.
An essential part of this maintenance involves using an RV roof caulk. It’s your best defense against potential water leaks, which can lead to substantial damage and hefty repair bills.
Understanding What is RV Caulk
RV caulk, also known as RV roof sealant, is a magical substance that comes in different forms. It’s primarily used to repair minor to moderate damages on your RV roof, such as separating seams or minor water leaks around a vent fan.
Some RV caulks come in a tube or caulk-like form, which requires a caulk gun for application. Others come as a tape-like material that you can directly apply on the suspected leaky areas.
When to Call a Professional
While RV caulk is excellent for patching up minor damages, it’s not a cure-all solution. If your roof has significant damages causing a substantial amount of water to seep into your RV, it’s best to call a professional. They have the expertise to ensure the leak is fully addressed, preventing further damage.
How to Apply RV Caulk on Your Roof
The application process will differ based on the type of RV caulk you choose. For a tube style sealant, you can use the tube itself to run thin beads of sealant on the areas where you suspect water is getting in.
Alternatively, some RV caulks, like RV roof magic, come in a 1-gallon can. These are designed to be applied like paint over problematic areas of your RV roof.
Selecting the Right RV Caulk
The choice of RV caulk depends on the type of RV roof and your preference. For instance, sealant tapes are effective and easy to use but might not look neat. It’s not recommended for aluminum travel trailers (e.g., Airstreams) as it leaves a large white patch on the silver roof.
In such cases, you might want to use something like gray vulkem. If your RV roof is made of rubber or fiberglass, you can use an RV roof sealing tape or sealing caulk.
When choosing a sealant, consider these factors:
- Reviews – Look for high-quality reviews from people who have used the product.
- Longevity – Opt for sealants designed to last 10+ years.
- Ease of application – Check the application instructions before buying.
Tips for Keeping Your RV Roof in Top Condition
The best defense against roof issues and leaks is prevention. Regularly apply an RV roof coating every 5-10 years to maintain your roof’s health.
Before applying the coating, ensure that you clean your RV thoroughly. For rubber roofs, you can use something like RV Roof Magic.
Remember, if you have an Airstream-style aluminum trailer, proactive maintenance isn’t necessary.
In Conclusion
Maintaining your RV roof is one of the most crucial tasks as an RV owner. By regularly applying RV caulk, you ensure that your RV remains a source of joy and adventure, not a cause of stress and expense.
Want to know more about RV maintenance? Explore other articles on our blog.